To change a flat tire on the side of the road, first, secure the vehicle and gather your tools. Then, replace the flat tire with the spare.
Changing a flat tire can be a daunting task, especially if you’re stranded on the side of the road. Knowing the steps beforehand can save you time and stress. Safety is paramount; ensure your vehicle is parked on a flat surface and turn on your hazard lights.
Gather essential tools like a jack, lug wrench, and spare tire. Loosen the lug nuts before lifting the car with the jack. Once the car is elevated, remove the flat tire and replace it with the spare. Tighten the lug nuts securely and lower the vehicle back to the ground. Regularly check your spare tire to ensure it’s in good condition.
Safety Precautions

Changing a flat tire on the side of the road can be challenging. Ensuring safety is crucial. Follow these safety precautions to keep yourself and others safe.
Find A Safe Location
First, look for a safe spot to pull over. Avoid stopping on narrow roads or curves. A flat, stable area is best. If possible, pull into a parking lot or rest area. This reduces the risk of accidents.
Turn On Hazard Lights
Once you’ve stopped, turn on your hazard lights. This alerts other drivers to your situation. Flashing lights make your vehicle more visible. This is especially important at night or in bad weather.
Use Parking Brake
Before you start changing the tire, engage the parking brake. This keeps your car from moving. It’s a simple step that adds a lot of safety. Don’t skip it.
| Step | Action |
|---|---|
| 1 | Find a safe location |
| 2 | Turn on hazard lights |
| 3 | Use parking brake |
- Stay calm and focused.
- Wear a reflective vest if you have one.
- Keep a safe distance from traffic.
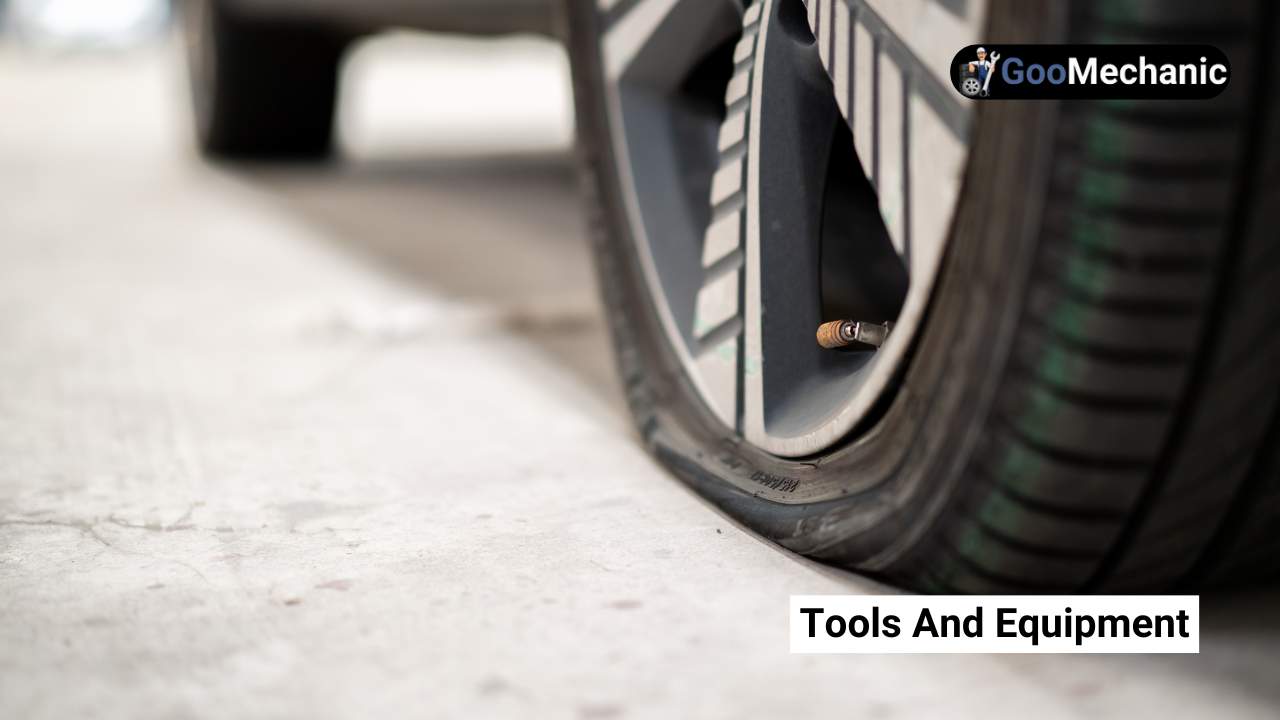
Tools And Equipment

Changing a flat tire on the side of the road can be daunting. Having the right tools and equipment can make the process easier. Below are essential items you need to carry in your car.
Essential Tools
These tools are crucial for changing a tire:
- Car Jack: This tool lifts your car off the ground.
- Lug Wrench: Use this to remove the lug nuts.
- Tire Pressure Gauge: Check the air pressure of your spare tire.
- Wheel Chocks: These prevent the car from rolling.
Spare Tire
Your spare tire is crucial for getting back on the road.
- Full-Size Spare: Same size as your regular tires.
- Compact Spare: Smaller and temporary.
- Run-Flat Tire: Can drive short distances without air.
Additional Helpful Items
Other items that can assist you:
- Flashlight: Helps you see in the dark.
- Gloves: Keeps your hands clean.
- Reflective Vest: Makes you visible to other drivers.
- Roadside Assistance Kit: Includes emergency supplies.
Loosening The Lug Nuts
Loosening the lug nuts is a crucial step in changing a flat tire. This process can be tricky but with the right technique, it becomes simple. Follow these steps to ensure you do it correctly.
Position The Wrench
First, position the wrench onto a lug nut. Make sure the wrench is securely in place. A loose grip can cause slipping and injury.
Turn Counterclockwise
Next, turn the wrench counterclockwise to loosen the lug nuts. Always apply steady pressure. Sudden force can strip the lug nut or damage the wrench.
Partial Loosening
It’s important to partially loosen all lug nuts before lifting the car. This ensures that the wheel stays stable. Fully removing them might cause the wheel to fall off.
| Step | Action |
|---|---|
| 1 | Position the wrench |
| 2 | Turn counterclockwise |
| 3 | Partially loosen the lug nuts |
- Ensure wrench is secure
- Apply steady pressure
- Loosen nuts partially
Using The Jack
Changing a flat tire can be daunting, especially on the side of the road. One crucial step is using the jack correctly. Follow these steps to safely lift your vehicle.
Placing The Jack
First, find the jack points on your vehicle. These are usually beneath the car’s frame. Check your car manual if unsure.
Before placing the jack, make sure your car is on a flat surface. This prevents the car from rolling. Place a block or wedge behind the tires opposite the flat one. This ensures the car doesn’t move.
Raising The Vehicle
Once the jack is in place, start turning the handle. Do this until the flat tire is off the ground. Be slow and steady.
Never put any part of your body under the car while raising it. Keep a close eye on the car’s position as it rises.
Ensuring Stability
After raising the car, check its stability. Give the car a slight push. If it wobbles, reposition the jack and try again.
Always use a jack stand for added safety. Place it under the car near the jack. Lower the car onto the stand gently.
Following these steps ensures your safety while changing a flat tire. Proper use of the jack is crucial for a smooth process.
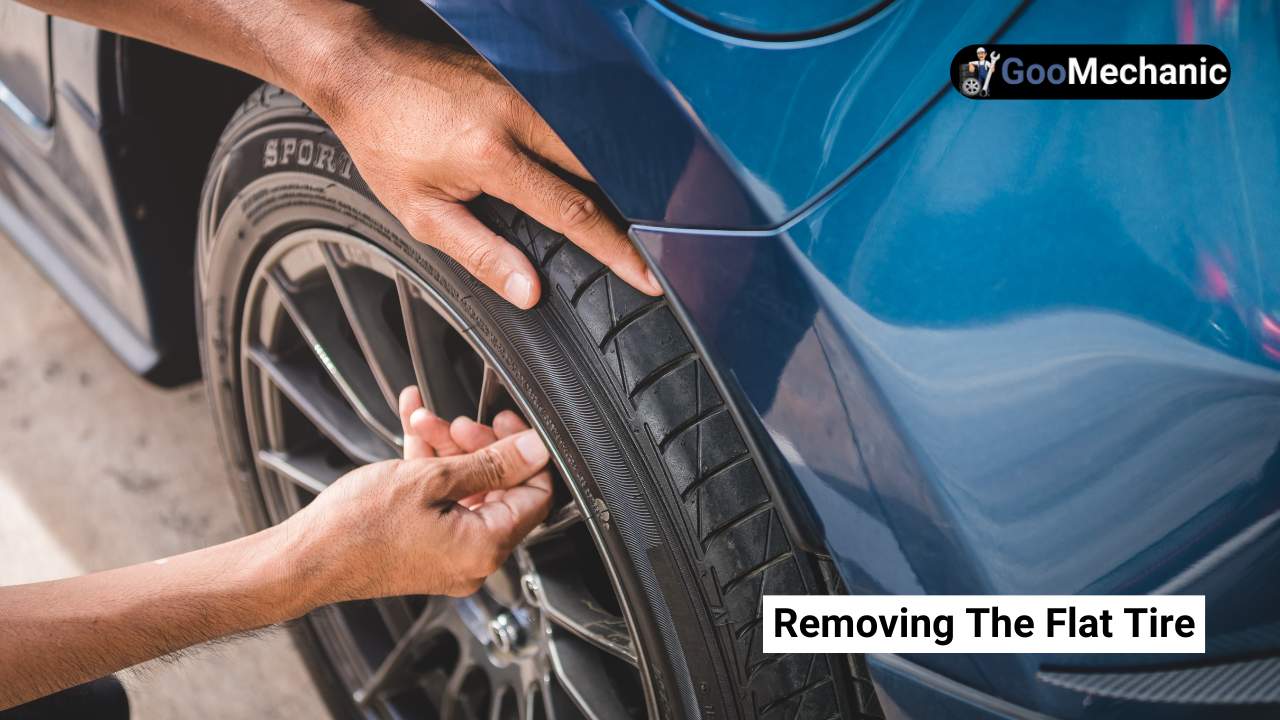
Removing The Flat Tire

Removing a flat tire might seem hard, but it’s easy with the right steps. Follow these simple steps to get back on the road quickly.
Unscrewing Lug Nuts
Before lifting the car, loosen the lug nuts. Use a lug wrench for this task. Turn the wrench counterclockwise to loosen each nut. Do not remove the nuts fully yet. Just loosen them enough to turn by hand.
Taking Off The Tire
Now, place the jack under the car. Check your car manual for the right spot. Lift the car until the flat tire is off the ground. Remove the loosened lug nuts completely now. Place them in a safe spot. Gently pull the tire off the car.
Handling The Flat Tire
Carry the flat tire to the trunk or a safe place. Keep it away from the road to avoid accidents. You can later take it to a mechanic for repair or replacement.
Mounting The Spare Tire
Mounting the spare tire is a crucial step in changing a flat tire. Follow these steps to ensure your spare tire is securely in place, allowing you to get back on the road safely.
Aligning With Wheel Bolts
Start by aligning the spare tire with the wheel bolts. Hold the spare tire up and match the holes with the bolts. This step is important for a secure fit.
Hand-tightening Lug Nuts
Once the spare tire is aligned, begin hand-tightening the lug nuts. Turn each nut clockwise until snug. This ensures the tire stays in place as you lower the vehicle.
Lowering The Vehicle
Use the jack to lower the vehicle slowly. Make sure the vehicle is on solid ground. Once lowered, tighten the lug nuts with the wrench. Tighten them in a star pattern for even pressure.
| Step | Description |
|---|---|
| Aligning with Wheel Bolts | Match the spare tire holes with wheel bolts |
| Hand-Tightening Lug Nuts | Turn each lug nut clockwise until snug |
| Lowering the Vehicle | Lower the car and tighten lug nuts in a star pattern |
Follow these steps to ensure your spare tire is mounted correctly. This will help you drive safely to your destination or a repair shop.
Securing The Spare Tire
Changing a flat tire on the side of the road can be stressful. Securing the spare tire properly is crucial for your safety. Follow these simple steps to ensure the spare tire is fixed securely.
Tightening Lug Nuts
After placing the spare tire on the wheel hub, tighten the lug nuts by hand. This ensures the tire is correctly seated. Then, use the wrench to tighten them further. Tighten the nuts in a star pattern to distribute the pressure evenly.
- Hand-tighten each lug nut.
- Use the wrench to tighten in a star pattern.
- Ensure even pressure on all lug nuts.
Using The Wrench
Place the wrench on a lug nut and turn it clockwise. Apply steady pressure to tighten it securely. Repeat this process for each lug nut in a star pattern. This ensures the tire is mounted evenly and securely.
- Position the wrench on a lug nut.
- Turn the wrench clockwise.
- Repeat for each lug nut.
Double-checking
After tightening all lug nuts, double-check each one. Ensure none are loose. Use the wrench to give each lug nut a final check. This step ensures the tire is securely attached and safe for driving.
| Step | Action |
|---|---|
| 1 | Hand-tighten lug nuts |
| 2 | Use the wrench to tighten in a star pattern |
| 3 | Double-check all lug nuts with the wrench |
Final Steps
Changing a flat tire can be stressful. But finishing it properly ensures your safety. Here are the final steps to complete the process successfully.
Stowing The Tools
After securing the spare tire, gather all your tools. Place the jack, wrench, and any other tools back in their storage compartments. Keep them organized to find them easily next time. Ensure the flat tire is also stowed away properly. Use the same area where the spare was kept. This keeps your car interior clean and organized.
Checking Tire Pressure
Check the pressure of your spare tire. Use a tire pressure gauge for accuracy. The recommended pressure is usually found in the car manual or on the tire itself. Ensure the spare tire is properly inflated. Driving on an under-inflated tire can be dangerous. If the pressure is low, find a nearby gas station to inflate it.
Driving To A Repair Shop
Once everything is secure, drive to a repair shop. Spare tires are not meant for long distances. They are temporary solutions. Drive carefully and avoid high speeds. Inform the mechanic about the flat tire issue. They can provide a permanent solution. Replace or repair the flat tire as needed. This ensures your car remains safe and roadworthy.
Frequently Asked Questions
Can You Change A Tyre At The Side Of The Road?
Yes, you can change a tyre at the side of the road. Ensure safety by using hazard lights and a reflective triangle. Use a jack, wrench, and spare tyre. Always follow the vehicle’s manual for guidance.
How Do You Plug A Tire On The Side Of The Road?
To plug a tire on the side of the road, locate the puncture. Remove the object causing it. Use a tire plug kit to insert the plug into the hole. Trim excess plug material. Inflate the tire to the proper pressure.
How Do You Fix A Flat Tire On The Sidewall?
Fixing a sidewall flat tire isn’t safe. Replace the tire with a spare or call for roadside assistance.
How Long Does It Take To Change A Tire On The Side Of The Road?
Changing a tire on the side of the road typically takes 15-30 minutes. The time depends on experience and tools.
Conclusion
Changing a flat tire on the side of the road can be straightforward. Always keep necessary tools in your car. Practice safety by moving to a secure location. Follow these steps, and you’ll be back on the road in no time.
Regular maintenance can prevent unexpected flat tires. Stay prepared and drive safely.