To fix milky oil in an engine, first, identify the source of coolant leakage. Then, replace the head gasket or repair the cracked engine block.
Milky oil in a car engine indicates a mixture of coolant and oil, which is often a sign of a serious issue. This can lead to engine damage if not addressed promptly. Common causes include a blown head gasket, a cracked engine block, or a damaged intake manifold gasket.
These issues allow coolant to enter the oil system, creating the milky appearance. Regular checks and timely maintenance are crucial to prevent such problems. Ignoring this issue can lead to costly repairs and potentially severe engine damage, impacting your vehicle’s performance and longevity.
Identifying Milky Oil

Milky oil in your car’s engine is a sign of trouble. It indicates water or coolant mixing with the oil. Identifying milky oil early can save you from costly repairs. Let’s explore how to spot it.
Visual Inspection
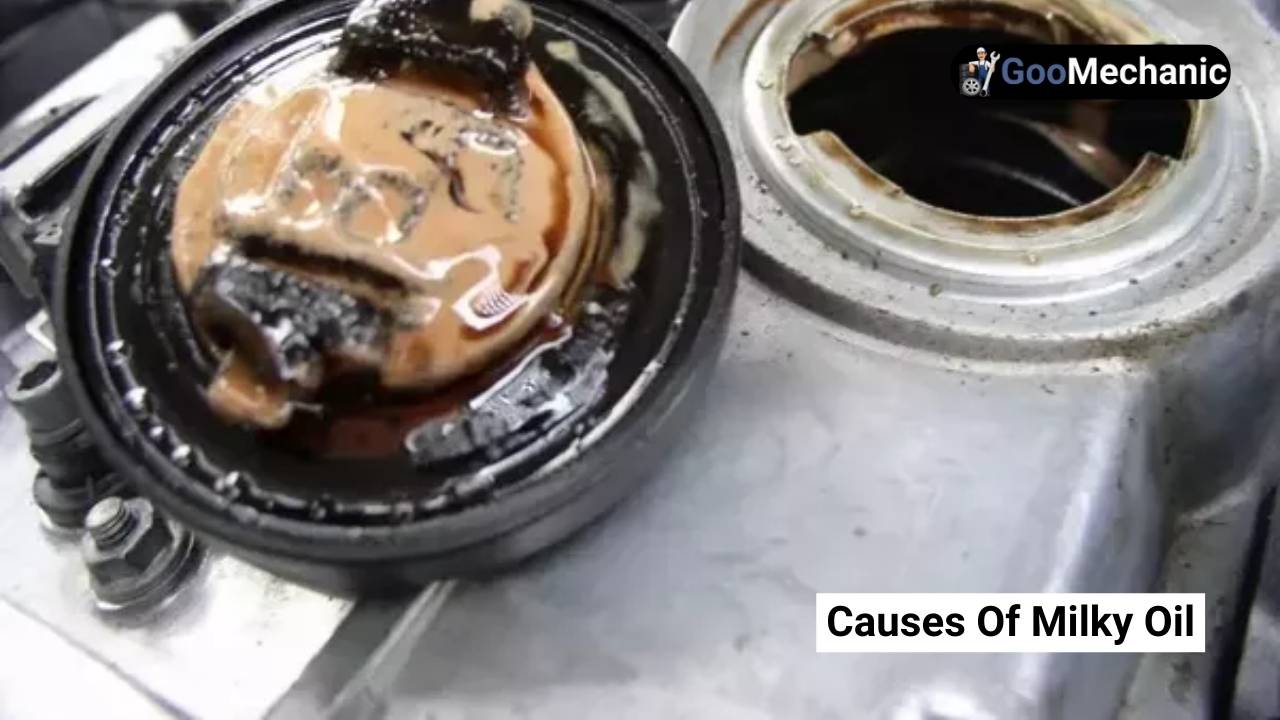
Start by checking the oil dipstick. Pull it out and look at the oil color. Normal oil is amber or dark brown. Milky oil looks creamy or frothy. This is a clear sign of contamination.
Next, inspect the oil cap. Remove it and look inside. Milky residue on the cap is another red flag. It confirms water or coolant has mixed with the oil.
Signs And Symptoms
Milky oil often comes with other signs. Watch for these symptoms:
- Engine Overheating: The engine temperature gauge may rise.
- White Exhaust Smoke: This indicates coolant burning in the engine.
- Poor Engine Performance: The car may run rough or lose power.
- Coolant Loss: You may notice the coolant level dropping.
If you see milky oil and these symptoms, act quickly. It can prevent severe engine damage.
Causes Of Milky Oil

Milky oil in a car engine can be a serious issue. It usually indicates contamination. Understanding the causes helps in fixing the problem. Below are the main reasons for milky oil in your engine:
Coolant Leak
A coolant leak is a common cause of milky oil. When coolant mixes with oil, it turns milky. This usually happens due to a failing head gasket. Head gasket failure allows coolant to seep into the oil system. This contamination is harmful to engine parts. Overheating can also cause the head gasket to fail.
Condensation
Condensation can also cause milky oil. This happens mostly in cold weather. Short trips prevent the engine from reaching optimal temperature. As a result, moisture doesn’t evaporate. This moisture mixes with the oil, turning it milky. Regular long drives can help prevent this issue.
| Cause | Description | Solution |
|---|---|---|
| Coolant Leak | Coolant mixes with oil due to gasket failure | Check and replace the head gasket |
| Condensation | Moisture mixes with oil, especially in cold weather | Ensure regular, longer drives |
Immediate Actions
Finding milky oil in your car’s engine is alarming. This often indicates a serious issue. Knowing what to do immediately can save your engine from further damage. Here are the immediate steps to take.
Stop Driving
First, stop driving your car. Driving with milky oil can cause severe engine damage. Milky oil suggests water or coolant is mixing with the oil. This can lead to poor lubrication and overheating. Pull over safely and turn off the engine. Continuing to drive can worsen the problem.
Check Oil Dipstick
Next, check the oil dipstick. This helps confirm the presence of milky oil. Follow these steps:
- Ensure the engine is off and cooled down.
- Open the hood and locate the oil dipstick.
- Pull the dipstick out and wipe it clean with a cloth.
- Reinsert the dipstick fully, then pull it out again.
- Examine the oil on the dipstick. If it appears milky or frothy, water or coolant has mixed with the oil.
If the oil is milky, do not start the engine again. Running the engine in this condition can cause serious damage.
Here’s a quick reference table to help you:
| Action | Reason |
|---|---|
| Stop Driving | Prevent further engine damage |
| Check Oil Dipstick | Confirm presence of milky oil |
Milky oil in your engine is a red flag. Immediate actions can save you from costly repairs. Always act quickly and carefully to ensure your car’s health.
Tools And Materials Needed
When fixing milky oil in your car’s engine, you need the right tools and materials. This ensures the job is done efficiently and correctly. Below, we’ll list essential tools and parts needed for this repair.
Basic Tools
- Socket Set: Necessary for removing bolts and nuts.
- Wrench Set: Helps to loosen and tighten various parts.
- Screwdrivers: Both flathead and Phillips are useful.
- Oil Drain Pan: For collecting old oil and coolant.
- Funnel: Essential for pouring new oil without spills.
- Rubber Gloves: Keeps your hands clean and protected.
- Towels or Rags: For cleaning up any spills or messes.
Replacement Parts
| Part | Description |
|---|---|
| Oil Filter | New filter to replace the old one. |
| Engine Oil | Fresh oil to replace the contaminated one. |
| Coolant | New coolant to replace any mixed with oil. |
| Gaskets | New gaskets if old ones are damaged. |
| Oil Pan Gasket | To ensure no leaks from the oil pan. |
Draining The Contaminated Oil

Milky oil in your car’s engine indicates water contamination. Draining the contaminated oil is crucial. This step removes the compromised oil and prevents engine damage. Follow this guide to fix milky oil in your car.
Positioning The Car
First, park your car on a flat surface. Ensure the parking brake is engaged. This setup prevents the car from moving during the process. You might need to raise the car with a jack. Use jack stands for safety. Keep all tools and materials ready.
Removing The Oil Plug
Locate the oil drain plug under the car. Use a wrench to loosen the plug. Place an oil pan beneath to catch the oil. Carefully remove the plug and let the oil drain completely. This might take several minutes.
Once the oil flow slows, inspect the plug for metal shavings. This can indicate internal engine issues. Clean the oil plug before reinserting it. Tighten it securely to prevent leaks.
Dispose of the contaminated oil properly. Most auto shops will take used oil. Never pour it down a drain or on the ground.
Flushing The Engine
Flushing the engine is essential for removing milky oil from your car’s engine. This process ensures that all contaminants are thoroughly eliminated. This guide will walk you through the steps involved in flushing the engine.
Using Engine Flush
Begin with an engine flush product. Make sure to choose one designed for your car’s engine.
- Warm up the engine for about 5 minutes.
- Turn off the engine and pour the engine flush into the oil filler cap.
- Restart the engine and let it idle for the time specified on the product label.
- Turn off the engine and drain the oil while it’s still warm.
After draining, replace the oil filter with a new one. Fill the engine with fresh oil. The old oil may contain contaminants, so disposing of it properly is crucial.
Multiple Flushes
Sometimes, a single flush may not be enough to remove all contaminants. In such cases, multiple flushes may be necessary.
Follow these steps for multiple flushes:
- Repeat the engine flush process as described above.
- Check the oil after each flush to see if it’s still milky.
- If the oil is still milky, perform another flush.
Continue this process until the oil appears clean. This ensures all contaminants are removed. Using multiple flushes may take more time but it ensures your engine’s health.
| Step | Description |
|---|---|
| 1 | Warm up the engine. |
| 2 | Pour in engine flush. |
| 3 | Idle the engine. |
| 4 | Drain the oil. |
| 5 | Replace the oil filter and refill with fresh oil. |
By following these steps, you can effectively flush your engine. Removing milky oil is crucial for maintaining your car’s performance.
Refilling With Fresh Oil
Refilling with fresh oil is a crucial step in fixing milky oil in your car’s engine. This process ensures your engine runs smoothly and efficiently. Let’s dive into the details of how to do this correctly.
Choosing The Right Oil
First, you need to choose the right oil for your car. The owner’s manual will have the specifications. Look for the recommended oil grade and type.
| Oil Type | Viscosity |
|---|---|
| Conventional | 5W-30 |
| Synthetic | 10W-40 |
Using the wrong oil can harm your engine. Stick to the recommended type. If you are unsure, consult a professional mechanic.
Filling Procedure
Follow these steps to refill the oil:
- Park the car on a flat surface.
- Turn off the engine and let it cool.
- Locate the oil filler cap. It usually has an oil can symbol.
- Remove the cap and insert a funnel.
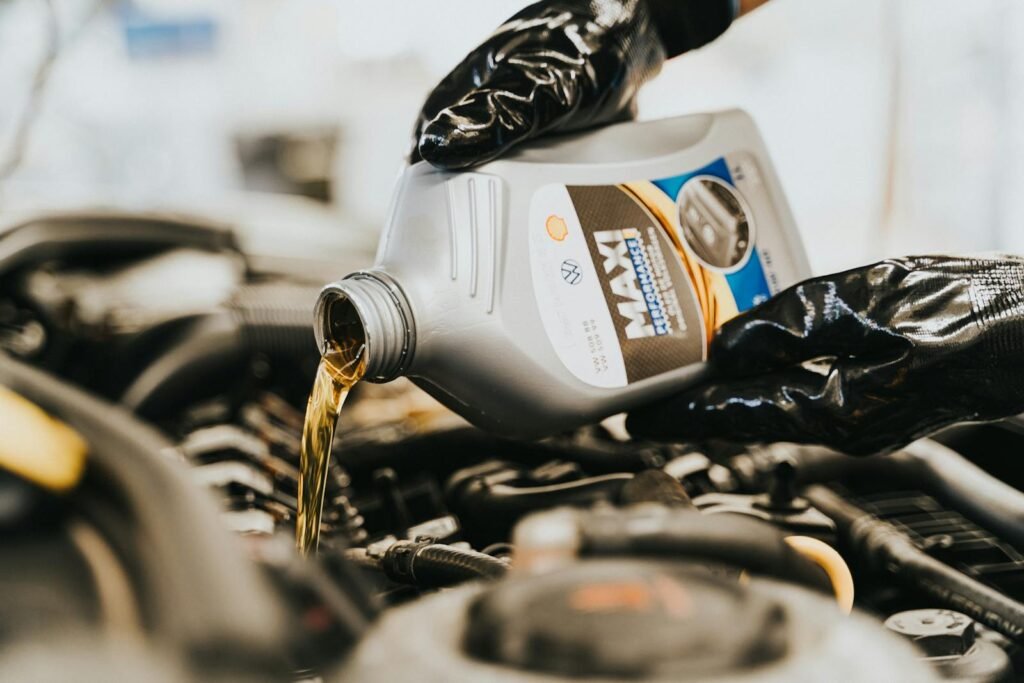
- Pour the new oil slowly to avoid spills.
- Check the oil level using the dipstick. Ensure it’s at the proper level.
- Replace the oil filler cap securely.
Make sure to dispose of old oil properly. Many auto shops take used oil for recycling.
Regular oil changes keep your engine healthy. Keep track of your oil change schedule.
Preventive Measures
Preventing milky oil in your car’s engine is essential. It helps avoid costly repairs. Simple steps can keep your engine healthy. Follow these tips to prevent milky oil.
Regular Maintenance
Regular maintenance is crucial for your car’s engine. Change the oil every 3,000 to 5,000 miles. Use the recommended oil type for your vehicle. Always check the oil filter and replace it if needed.
- Check oil levels weekly.
- Inspect for leaks under the car.
- Use high-quality oil.
- Schedule professional inspections.
Monitoring Coolant Levels
Monitoring coolant levels can prevent milky oil. Check the coolant reservoir regularly. Ensure the coolant is at the right level. Low coolant can lead to engine overheating.
| Task | Frequency |
|---|---|
| Check coolant levels | Every two weeks |
| Top up coolant | As needed |
| Inspect hoses for leaks | Monthly |
Look for signs of coolant leaks. These could be puddles under the car. Have a mechanic check if you suspect leaks. Prompt action can save your engine.
Frequently Asked Questions
Is It Bad To Drive With Milky Oil?
Yes, driving with milky oil is bad. It indicates coolant mixing with oil, which can damage your engine.
Does Milky Oil Always Mean Head Gasket?
Milky oil can indicate a head gasket issue, but it could also mean coolant contamination or condensation. Always inspect further.
What Causes Milky White Oil?
Milky white oil usually indicates water contamination. This can happen due to a leaking gasket, cracked engine block, or condensation. Regularly check and maintain your vehicle to prevent this issue.
How To Fix Water In Oil In Engine?
Drain and replace the oil immediately. Check for a blown head gasket, cracked engine block, or damaged cylinder head. Repair any detected issues. Refill with fresh oil and monitor for recurrence.
Conclusion
Fixing milky oil in your engine is crucial for car health. Regular maintenance can prevent severe damage. Always check for coolant leaks. Address any issues promptly to avoid costly repairs. Keeping your engine in top shape ensures a smooth and safe driving experience.
Take action now to prolong your car’s lifespan.
